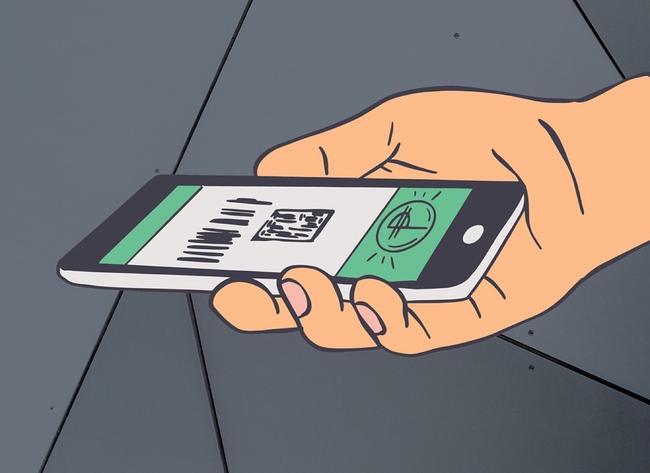
As we well know to travel and access numerous public places or open to the public it is necessary to be in possession of the green pass.The Green Pass is, in one last analysis, a QR code and therefore just be able to exhibit that (together with an identity document to certify that it is our green pass, when it is the case) to be in order.On this page we explain how and where to download the green pass.
We have already explained to you in a dedicated article on how it is possible to load the green pass on Apple's wallet and exhibit it on the iPhone on request, and that there are also other solutions (for example, use the stocard app that usually serves to keep the cardsof loyalty but which can also be used for other types of data such as the QR code of the Green Pass).
What we propose here is a way to exhibit the QR code of the Green Pass using the quick control application available on all the most recent iPhones by creating a very simple small script (they are only two actions) and having the foresight to save theimage of the QR code in the right way on iCloud.
We prepare the image from the phone
We need the image of the only QR code of the Green Pass which will be shown on the phone screen with the quick command.In order to get it just take a photograph at the QR code if we printed it or, even better, take a screenshot of the digital version by pressing the power button together with the volume button on when we are framing the app page that contains the screenshot.
We suggest using the second method, because it produces a clearer image.Warning: as soon as having obtained the screenshot of the screen it is necessary to cut it in such a way that only the QR code with a minimum of white frame around.

At that point, by pressing "End" you don't have to select "Save on photos".Instead you have to select "Save on file".The phone offers a screen that indicates both the name of the screen that we want to save that the iCloud Drive folder where we want to save it.By default the screen is saved inside the last used folder but we want to save it inside the "shortcuts" folder: select it and then change the name of the screen.
We want to call the screen that has a "instantaneous XXX screen" name in a simpler "greenpass" (without quotes).You don't have to put the extension, but it is a file in PNG format, so its "real" name will actually be "GreenPass.PNG ".
If we want, we can perform this operation on the Mac or on an iPad, just use both the same iCloud account and the content of the Shortcuts folder will be automatically synchronized.The only detail, let's make sure the file is entitled "Greenpass.PNG " e non “greenpass.PNG.PNG " o “greenpass.JPG "or other.Nothing changes, as we will see in a moment, but we have to know what the precise name of the file is to be able to hook it to the quick command.
We prepare the rapid commands
Once the image of the Green Pass is saved, we go to prepare the shortcut of the command we want to use.We open the control app that presents us with its interface with "all rapid controls" available.We tap on the + to add another one and an empty screen is presented.What we want to arrive is what you see in this screen, that is, two actions connected to each other that load the QR code of the Green Pass and show it.
The first action is called: "get files" and the second "quick view" (quite simple, right?).The fastest way to find them is to use the search at the top: "Add action" and then in the search field "get files" (with the icon on the blue background of a document). Qui bisogna fare due cose: bisogna disattivare la voce “Mostra selettore documenti” e in questo modo è possibile vedere la riga “Percorso file” con la sintassi /Shortcuts/esempio.txt/ che già punta alla cartella giusta ma a un file sbagliato di esempio. Toccando si può modificare e si cambia esempio.txt in greenpass.PNG (o come abbiamo chiamato l’immagine).Finished for the first action.
The second action is added by clicking the lower and is looking for "quick view" and does not require any configuration.If we hit the play of the play at the bottom right not only is our full screen QR code displayed but the image now remains hooked under the second command.
Finished.Now we click on "Next" at the top right to be able to give a name to the quick command, so that it can be activated with Siri.You can choose the name you want but we recommend something that makes sense, like "Show Green Pass".
How to use
Always from the interface of quick controls we can export the command and make "Add to home screen".In this way a version of the command is saved as if it were an app in the home and we can put it where we want.In this way we can be able to pick up the command as if it were an app that invoke it with Siri.The next time it will be required to show the green pass, just say on the phone "Hey Siri, show Green Pass" or to pick up on the action icon.
Bonus: the rapid command also synchronizes with Apple Watch and can also show the QR code also on that.
Moreover
If you want to read all the rules of the Green Pass, find out how to make it down and how to integrate it into your Apple devices, or in general to find out more about everything concerning the vaccination passport introduced with a law in our country, you can refer to thefollowing articles:
