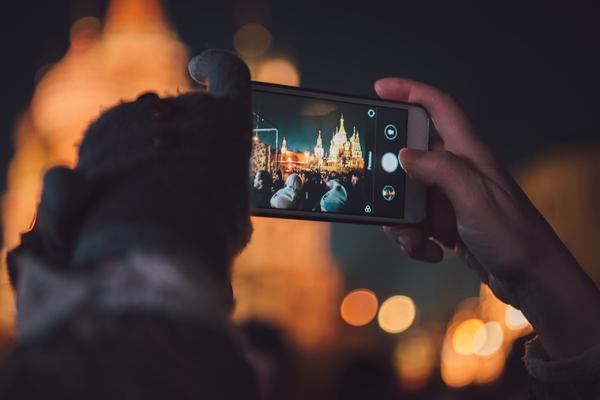
With iOS 15, Apple introduced a switch that should have already existed two years ago: it was in fact 2019 when the company, together with the iPhone 11, introduced the night mode on iOS, thus allowing you to capture photographs in the dark that no one phone, under normal conditions and without any software help, would be able to get.
Thanks to this mode, for a couple of years the iPhones that support it are practically able to photograph a scene by also detecting what is immersed in darkness. All it takes is a little light, whether it's the moon or a light bulb, to obtain extraordinary effects. To achieve this, the system is based on the acquisition of long-exposure images: it is enough to hold the phone still in one's hand for between one and ten seconds to produce images that normally require the use of a tripod.
As we said, this option achieves great results, but for this to happen, there must be the right conditions. In fact, if there are many lights in the framed scene, perhaps a street lamp or luminous signs, the result could be disastrous, and this is where the problem arises: when Apple introduced this function, it did so with the best intentions, i.e. leaving that it was the sensors and algorithms that decided when to use it and when not, while still leaving the possibility for the user to disable it if he didn't deem it necessary.

The point is that every time you change framing or reopen the camera, by default this mode tends to activate when the electronic brain deems it appropriate, that is, without taking into account the user's tastes or needs in a particular photographic context. Now that in fact iPhones, thanks to their high technological qualities, are also used in professional fields, the need arises to leave more control to the user.
That's why with iOS 15, at system level, you can disable the automatic start of night mode permanently, so if you are in a context where you only want to get fast shots or with many shaded areas , all you have to do is go to Settings > Camera > Keep Settings and turn on the relevant switch, which will make sure to keep it disabled when you decide that there is no need for it at that time.
All the tutorials for iPhone and iPad can be found starting from this page. You can find all the articles on iOS 15 starting from this page.
